
Mastering proper ring sizing is essential for a comfortable and beautiful fit. This guide will show you how to use professional ring sizer sets, adjustable plastic strips, and printable rulers to find your perfect size with confidence.
I. How to Use Ring Sizer Set/Gauge
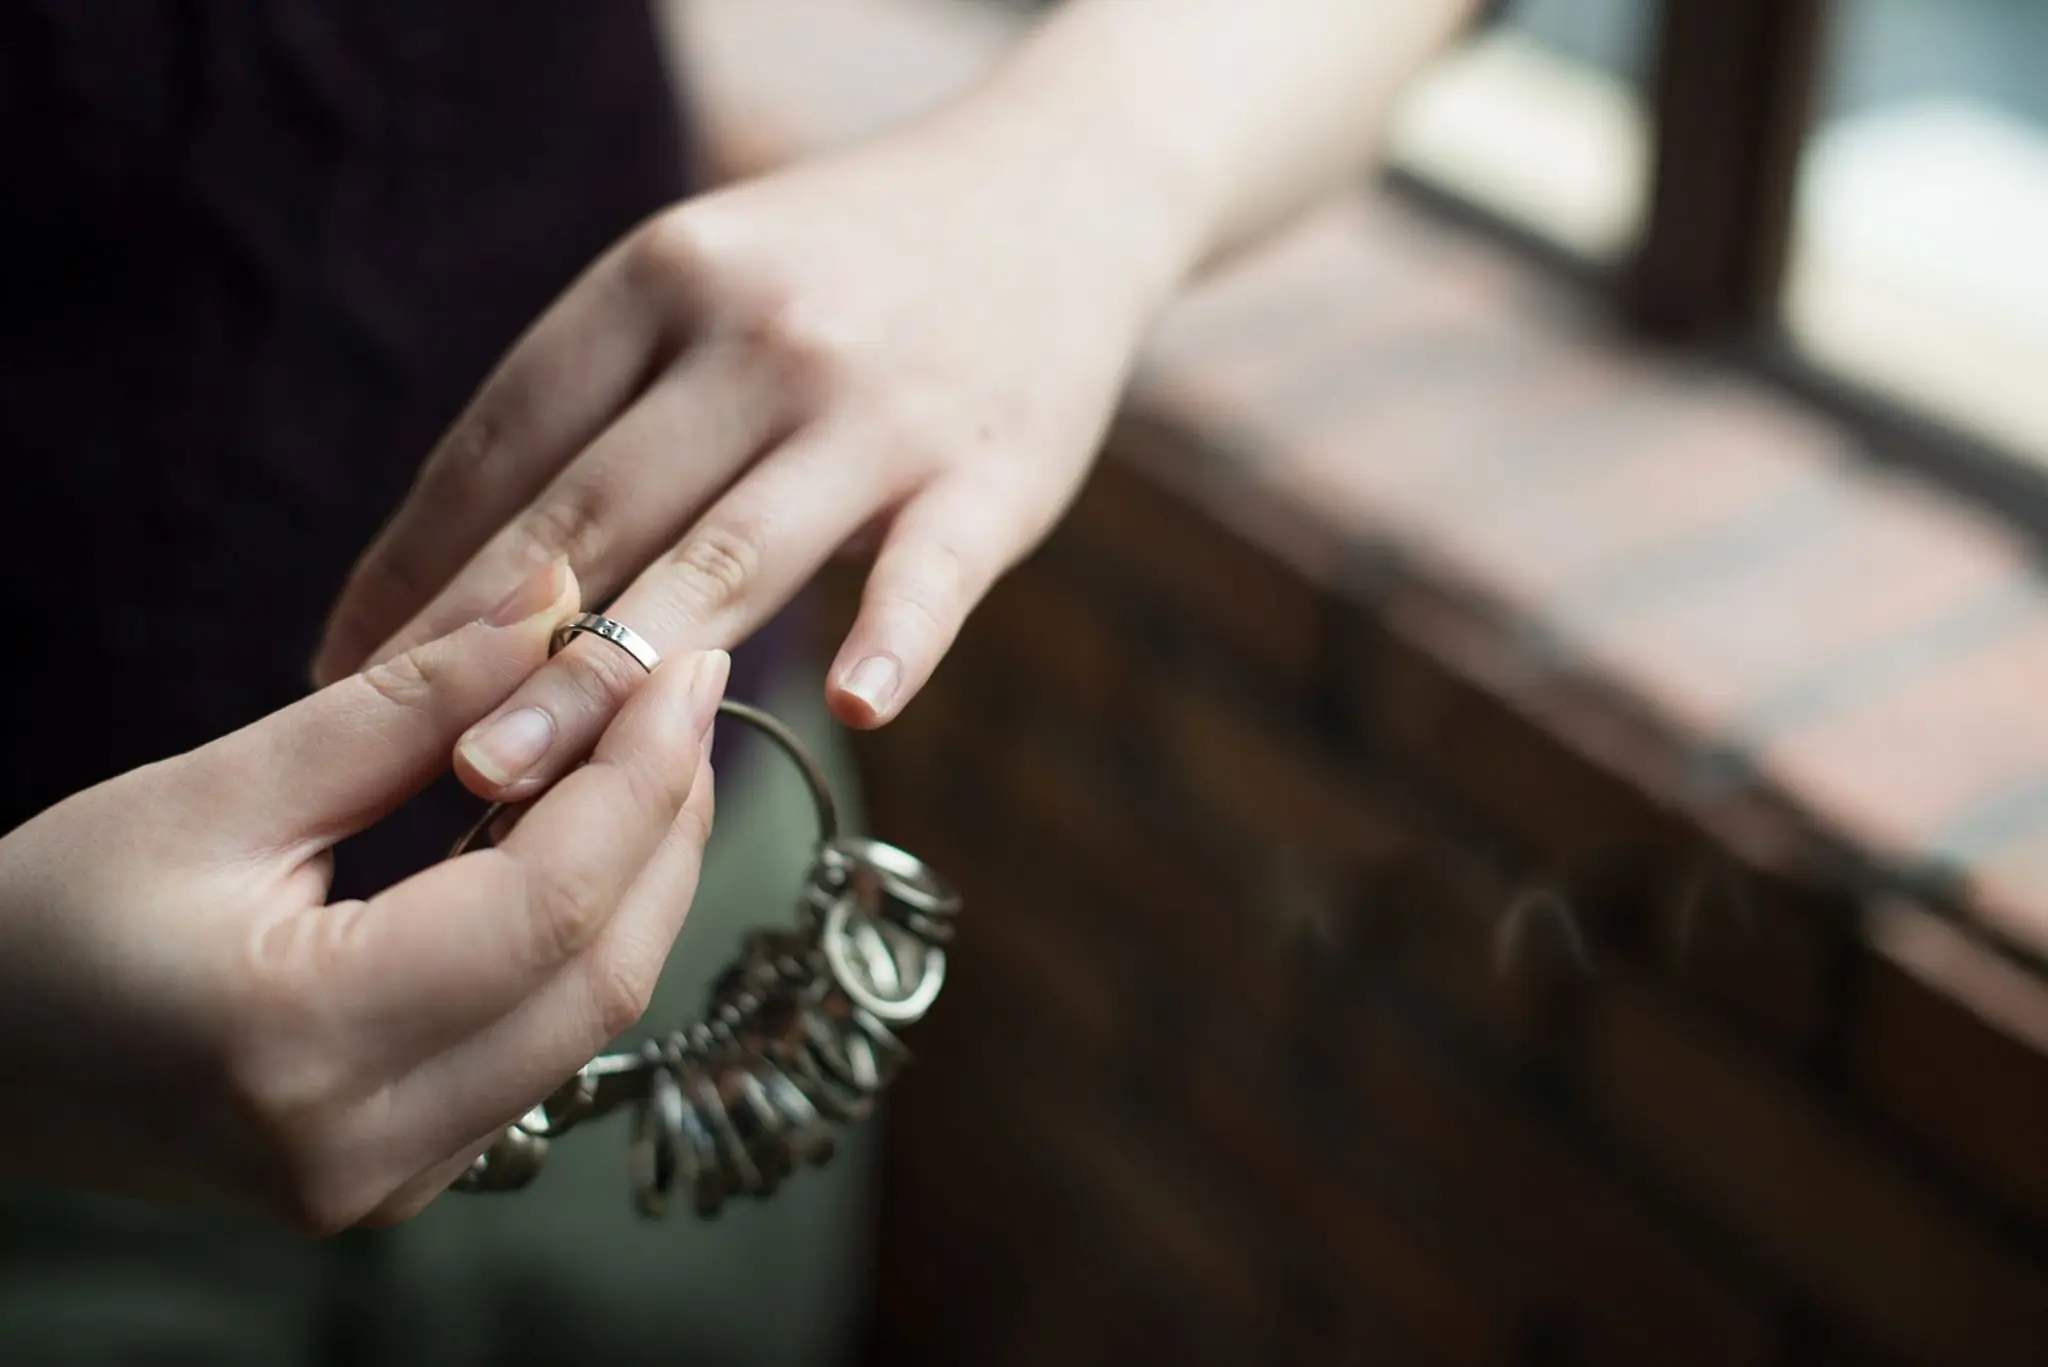
The ring sizer set (or ring gauge) is the industry standard. It offers the highest accuracy because it allows you to truly feel the ring’s “wearability.”
Steps for the Most Accurate Measurement
- Estimate and Try on: Select a few rings from the set that are close to your estimated size. This narrows down the testing process.
- Through the Knuckle: Slide the chosen ring onto your finger and then try to remove it. The ring must pass smoothly through your widest knuckle. There should be slight resistance when removing it, but absolutely no pain or jamming.
- Check for Comfort at the Finger Base: Once the ring is resting at the base of your finger, gently rotate it. The ring should rotate freely, but if you shake your hand, it should not slip off on its own.
- Record the Size: Record the size markings on the measuring ring that successfully meet all the comfort and resistance conditions above.
II. How to Use Plastic Strip Measuring Ruler (Adjustable Ring Sizer)
This adjustable ring sizer is a convenient and quick alternative method, ideal for home use. It effectively simulates ring wearing without the full set of professional gauges.
Steps for Using the Adjustable Sizer
- Wrap around the finger: Pass the plastic strip through the slot to form a loop and slip it onto the base of your finger.
- Tighten for a Snug Fit: Pull the measuring ruler taut until it feels comfortable and snug, but not restrictive or tight. A thin piece of paper should be able to be inserted between the ruler and the finger when the tension is correct.
- Test through the Knuckle: While the ruler is still tightened at this snug fit, try to remove it over your knuckle and put it back on. It must slide slightly across the knuckle to prove the accurate sizing. If it slides off too easily, the measurement is too large.
- Read the Size: Read the number or letter aligned with the arrow or the scale lines to determine your finger size.
III. How to Use Printable/Paper Measuring Ruler
This method is intended for emergency use only. It has the lowest accuracy and requires extremely high precision in its printing ratio.
Steps for Printable Sizer Accuracy
- Accurate Printing and Verification: You must print the file at 100% scale (or “Actual Size”). Never use “Fit to Page.” Use a ruler to measure the verification strip on the printed sheet; the printed verification strip length must exactly match the indicated length.
- Measurement with a Ruler Strip: Carefully cut out the ruler strip, form a loop, and tighten it around your finger. Use the same method as with the plastic strip ruler: ensure it applies slight pressure through the knuckle when removing.
- Measurement with a Circle (for existing rings): If you have an existing ring that fits well, use the printed circles. The inner edge of the ring must perfectly align with the outer edge of the printed circle for the measurement to be correct.
IV. Key Measurement Tips
I recommend considering these factors, which often impact the final size result:
- Optimal Measurement Time: Measure in the afternoon or evening (when your finger size is naturally largest due to temperature and activity).
- Temperature Effect: Always measure at room temperature. Avoid measuring cold fingers (contracted) or extremely hot fingers (swollen) fingers.
- Repeated Measurements: Measure 3–4 times over the course of the day, and use the most frequent result to ensure reliability.
- Knuckle Treatment: If your knuckles are large, the determined size must be able to pass smoothly (with slight resistance) through the knuckle.
- Ring Width Adjustment: When purchasing a wide ring (generally over 6mm), it is highly recommended to add half a size (0.5 Size) to your measured result for lasting comfort.
V. Size Conversion
Once you have your accurate measurement, you must convert it to the correct international standard for purchasing.
- International Standards: We primarily deal with US sizing (numbers), EU sizing (inner circumference in mm), and UK/Australian sizing (letters).
- Purchase Principles: Always confirm the sizing system used by the seller before purchasing. Use their specific conversion chart.
- Between Two Sizes: If your measurement falls between two standard sizes (e.g., between 7 and 7.5), always choose the larger one. It is generally easier and less damaging to adjust a ring slightly smaller than to make it larger.
Summary
Successfully using a ring sizer tool comes down to understanding the nuances of fit, especially the knuckle test. By applying these expert techniques to the Ring Sizer Set, the Plastic Strip Ruler, or even the Printable Sizer, and by following the crucial precautions, you can confidently determine your accurate size and select the perfect piece of jewelry.
For the most accurate results, we recommend using professional sizing tools from JYBS.